This post is already part of the libvirt tutorial, but to keep things more simple, i’ll create a seperate article for it.
Before reading this, you should know how KVM and libvirt works, as well as the basics in virtualization.
We’d like to go a more comfortable way, to create virtual machines, instead of doing it through the Cockpit interface.
We’ll let someone do the work for us according to our requirements.
Login into your system using the terminal and we’ll have to install the following packages, in order to be able to use pre-built systems.
$ sudo yum install libguestfs-tools libguestfs
libguestfs is a C library and a set of tools for accessing and modifying virtual disk images used in platform virtualization. The tools can be used for viewing and editing virtual machines (VMs) managed by libvirt and files inside VMs, scripting changes to VMs, creating VMs, and much else besides.
Virt-builder is a tool for quickly building new virtual machines. You can build a variety of VMs for local or cloud use, usually within a few minutes or less.
Post Installation
We can list all the current available virtual systems provided by these packages, using:
$ virt-builder --list
An example output:
$ debian-9                 x86_64     Debian 9 (stretch)
fedora-26                x86_64     Fedora® 26 Server
fedora-27                x86_64     Fedora® 27 Server
fedora-28                x86_64     Fedora® 28 Server
fedora-29                x86_64     Fedora® 29 Server
fedora-30                x86_64     Fedora® 30 Server
fedora-31                x86_64     Fedora® 31 Server
freebsd-11.1             x86_64     FreeBSD 11.1
scientificlinux-6        x86_64     Scientific Linux 6.5
ubuntu-10.04             x86_64     Ubuntu 10.04 (Lucid)
ubuntu-12.04             x86_64     Ubuntu 12.04 (Precise)
ubuntu-14.04             x86_64     Ubuntu 14.04 (Trusty)
ubuntu-16.04             x86_64     Ubuntu 16.04 (Xenial)
ubuntu-18.04             x86_64     Ubuntu 18.04 (bionic)
fedora-18                x86_64     Fedora® 18
fedora-19                x86_64     Fedora® 19
fedora-20                x86_64     Fedora® 20
So in order to get a working system, run
$ man virt-builder
By default, after the creation of such a virtual machine random hostnames, random passwords are being assigned to the machine.
Single Virtual Machine for each Service
Example:
We want a Debian 10 System, meant for a Teamspeak 3 Server. It should have the hostname “teamspeak”, and the root password should be teamspeak.
The root password should also be “teamspeak”.
We also want all packages to be up to date after the installation.
It’s HDD size should be, let’s say, 8GB. The command will look like this.
$ sudo virt-builder debian-10 -o teamspeak.qcow2 --format qcow2 --update --hostname teamspeak --root-password password:teamspeak --size 8G
The process will return the following output, so everything has worked!
[   0.8] Downloading: http://builder.libguestfs.org/debian-10.xz
[   1.2] Planning how to build this image
[   1.2] Uncompressing
[   4.1] Resizing (using virt-resize) to expand the disk to 8.0G
[  16.5] Opening the new disk
[  20.6] Setting a random seed
virt-builder: warning: random seed could not be set for this type of guest
[  20.6] Updating packages
[  72.2] Setting the hostname: teamspeak
[  73.1] Setting passwords
[  73.8] Finishing off
                   Output file: teamspeak_d10vm1.qcow2
                   Output size: 8.0G
                 Output format: qcow2
            Total usable space: 7.8G
                    Free space: 6.8G (86%)
Now we have to import the virtual machine in order to get it working.
We do so by accessing the web interface, logging in.
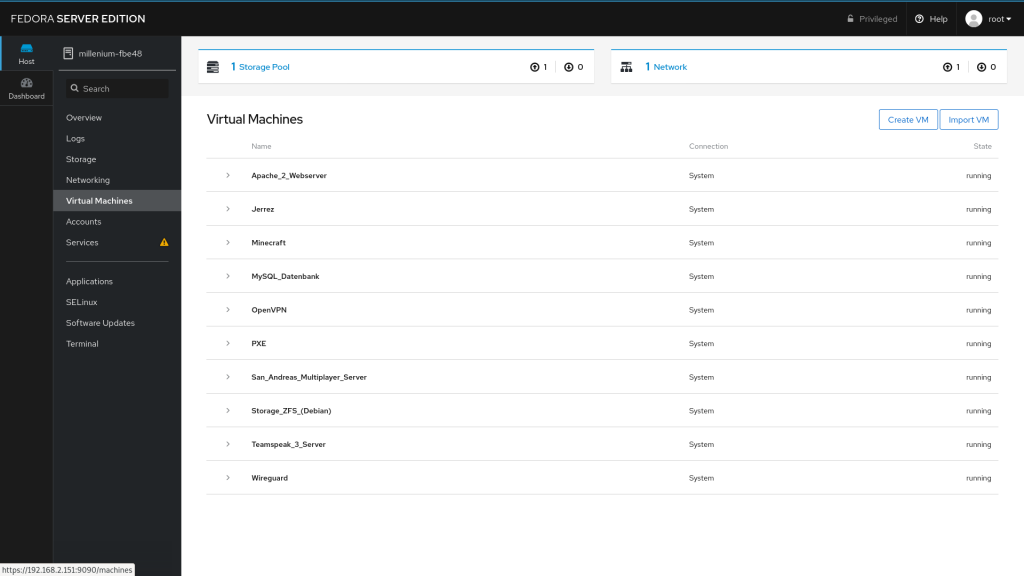
And we select “Virtual Machines”
Now we have to import the VM, so click the proper button “Import VM”
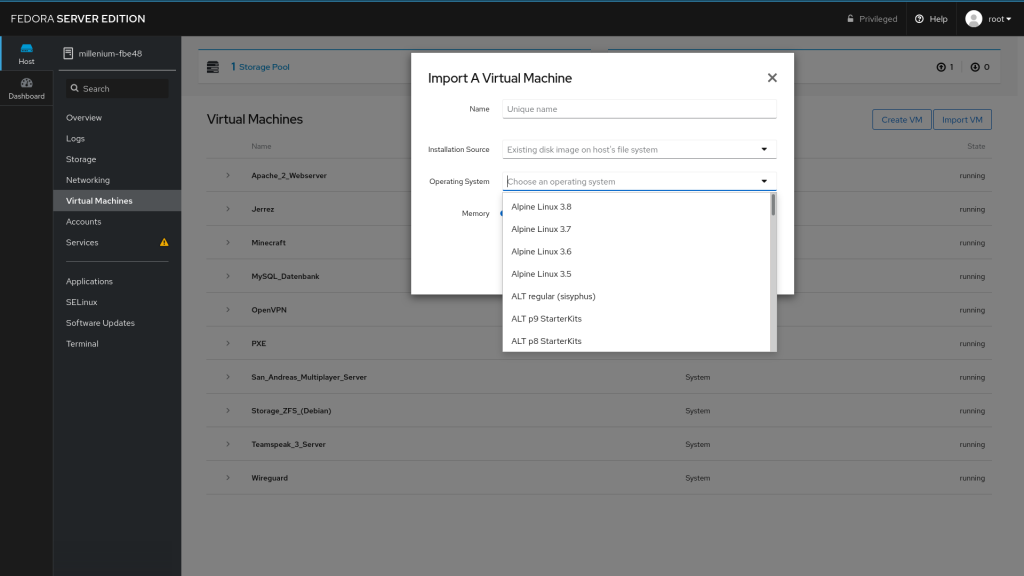
Now select the operating system you selected before, using virt-builder.
Later on, let the GUI know where you have installed the image file, using virt-builder.
Are you ready now?
Now you can easily start the machine.
You can choose a lot of options in order to manage your machines, i would recommend the Web GUI instead of managing them using virsh (This will be part of the next article)
If you would like to customize your machines, you should create a bridged network device, and attach it to your machines, in order to get SSH access from the local network.
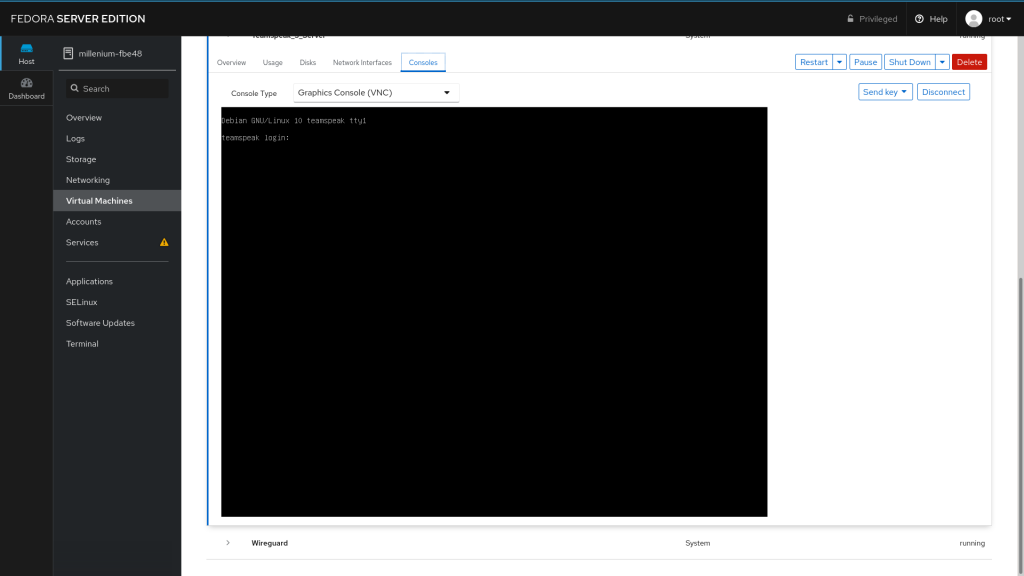
For now the work is done, and you can use your machine after clicking the “Console tab”.
There you can do everything you want it’s like an idependent system, very useful in order to run services in “containers” for security reasons.
But what if you want to create a storage VM, e.g. for ZFS or RAID applications?
I’ll answer this question as a port of an advanced libvirt tutorial, explaining things like PCIe pass-through, and nested Vt-d.
If you have any questions or suggestions feel free to comment!